


As soon as I get through finals, I'll start posting my December daily pages. Oh, for those who don't know, I started a Ph.D. program this fall, that's why my blog has been suspiciously vacant. Just five days to go and I'll be back in action.
Friday, December 3, 2010
Wednesday, November 3, 2010
One Last Halloween Hurrah
Well all, I apologize....I'm obviously not going to make it to 13 tags for Halloween. But here's one more Halloween project for your scrapping pleasure.
I created this in response to a Challenge at my local scrapbook store. We were provided a kit with the mini album, paper, two alpha sets, ribbon, die cut stickers, glitter, die cut bats, and a manila tag. I wasn't able to do everything I wanted to with the kit, ran out of time, but here's the gist.
I split the middle pages of the mini album in half so that I could create a pick-a-pumpkin face book:


 Because of the split, you could flip the eyes/noses and mouths separately to create a unique pumpkin face:
 Background pages were created using a pumpkin mask (cut with Cricut), Glimmer Mist, and Distress Ink. Pumpkin faces were cut with the Cricut.
Thursday, October 28, 2010
Money Saving Technique
So, I'm working on a larger project....really wanting to use some printed tape to cover a chipboard box, but looking at the 1/2-inch roll that cost me $8 and thinking there's no way. So, then I got an idea...
Step 1 - This is the hardest part. Cut a non-stick craft sheet down to a size that will run through your printer. I cut a Ranger sheet in half so I now have two 9x15 pieces.
Step 2 - Cover the craft sheet lengthwise with strips of masking tape. I used 2-inch strips because I'm working on a larger project. Step 3 - Run it through your printer, I printed Christmas sheet music on mine. Experiment with your paper settings to find one that uses less ink. DO NOT print as a photo, it will take forever to dry.
 Step 4 - Heat set the printer ink. When dry, peel the strips off and use as desired.
 Here's a photo of the beginning of my project:
 Disclaimer. I assume no responsibility for any damage you may cause to your printer. I abuse my printer on a regular basis and therefore know what I can and can not do to it. Do not try this if you are unsure how your printer will handle this technique.
Sunday, October 10, 2010
13 Tags of Halloween - Tag 6
 Stamp text onto tag and distress ink edges. Emboss with swirl embossing plate. Ink and then sand embossed swirls. Cover both sides of grungeboard with text paper. Die cut leaves from covered grungeboard. Ink edges of leaves, curl leaves with fingers. Ink chipboard letters and cover with Stickles. Adhere all pieces to tag.
Saturday, October 9, 2010
GO RAYS!
 Well, we lost this one (Game 2), but we won Game 3. We have tickets to Game 5, so here's to Game 4.
GO RAYS!
Wednesday, October 6, 2010
A-choooooo!
Of course.
I start a project for the first time in like, six months, and I come down with a cold.
But not a REALLY bad one. There's no way I'm missing the playoff game tomorrow. Go Rays!
So check back in a day or two for the next in the 13 Tags of Halloween.
Tuesday, October 5, 2010
13 Tags of Halloween - Tag 5
 Distress inked tag. Vintage image printed three times and distress inked. Rock Candy crackle paint over the base image, distress inked when dry to color the cracks, then wiped with a damp paper towel. Adhere base image to tag.
Face and shoulders trimmed from second image, edges distress inked, adhered with two layers of pops dots behind face down to no pop dots behind shoulders.
Hand, candle, and smoke trimmed from third image, edges distress inked, adhered with two layers of pop dots behind portion of smoke, candle, and hand, down to one layer behind arm and no layers behind end of smoke (tuck behind first layer to add dimension).
Rock Candy stickles on goblin eyes, scattered straw stickles on candle flame. Moonlight smooch on woman's eyes and candle for a little extra shimmer. Tim Holtz charm with ball chain, stamped with "31".

Monday, October 4, 2010
Tag 4, an amendment
I was a bit tired yesterday and forgot to add the embellishments I had planned. Candies made from small I-top brad daddies, fabric, and (gasp!) plastic wrap. Yes, I know the plastic wrap isn't add free, but, no photos here!

Looks like a vanilla-chocolate swirl, orange chocolate, and orange chocolate cream, YUM!
13 Tags of Halloween - Tag 4

I think Garfield the cat said it best....."candy, candy, candy, candy, candy"...
Distress inked and texture stamped background. Vintage image of jack-o-lantern, printed twice. Top image trimmed and popped with pop dots to create 3-D pumpkin. Cricut candy images cut from black cardstock, Stickles for shimmer. Making memories letter stamps, Heidi Swapp chipboard letters.
Sunday, October 3, 2010
13 Tags of Halloween - Tag 3
 Alcohol ink on glossy paper, adhered to distress inked tag. Tattered Angels clock stamp, Cricut fence topped with Smooch for shimmer. Tim Holtz game spinners. Words were printed on a spare tag, hand cut, distress inked and adhered. Moon is shimmery vellum over silver cardstock, adhered with a glue stick. This method creates the shadows that make the moon look more realistic, hard to see in the photos.


Saturday, October 2, 2010
13 Tags of Halloween - Tag 2
 Stamped copper metal over chipboard letters, debossed, sanded. Glitter rubon letters.
 Made this little guy last year from a black velvet bead, black beading wire, and googly eyes.
Friday, October 1, 2010

Thursday, September 30, 2010
13 Tags of Halloween
Ok, I've been away for a while. I need to get back into creating. What better way than small daily projects. Momentum is so vital.
So here we go, inspired by Tim Holtz's 12 Tags of Christmas, here are my 13 Tags of Halloween....Tag 1.
Starting simple. Distress inks, edge distresser, and texture stamps to create the background. Embossing using one of Tim's new embossing folders. Grungeboard lantern and bat. Hand cut pole and signs. Pumpkins, lantern, signs, and bat colored with distress inks. Copper metal, stickles, and Smooch for a little shimmer.

Tuesday, August 17, 2010
Better - Warning LOOONNNGGG Post
Well....where the heck have I been?
All I can say is that my "one little word" this year was EVOLVE. And I'm living up to it in ways I never expected.
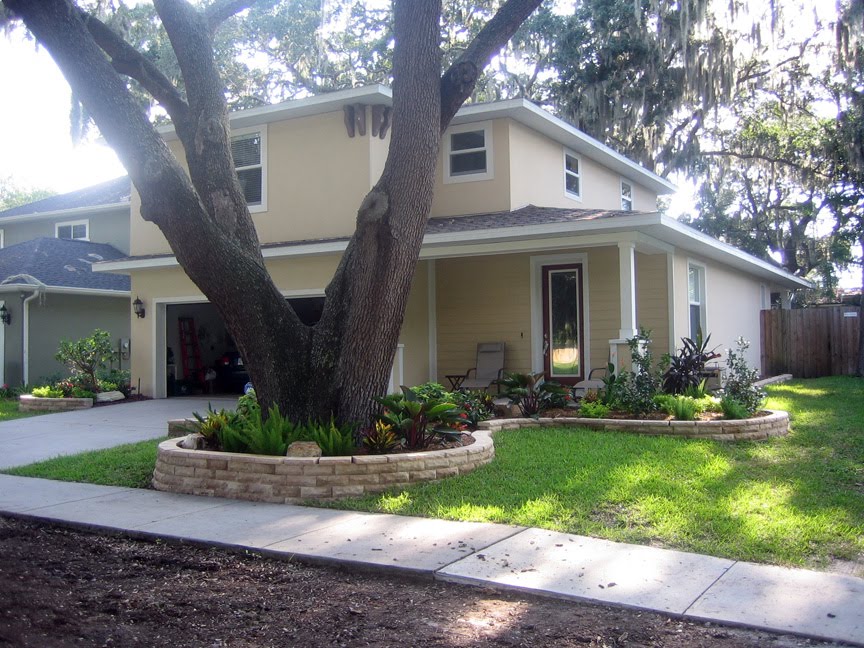
I've evolved into quite the proud little home owner.
I posted photos in June of some minor landscaping work we had done before moving in, and a few more photos in July of some landscaping work we did ourselves to test out some ideas.
This is better...
BEFORE:

 AFTER:


Subscribe to:
Posts (Atom)
