Okay, I can't post photos of the front of the house for personal security reasons, but I can share a few shots of the inside and a few judicious shots of the outside.
First, this is the 44-inch Live Oak in the front yard. The current owners had added these fake decorative trim pieces to the house. Well, they're made of Styrofoam and we had a woodpecker make herself at home. Here she is sticking her head out to see what I was doing in her driveway.
Sunday, May 16, 2010
More
Saturday, May 15, 2010
Come in, Come in!
Okay, I promised pictures right?
I'll start with the soon-to-be scraproom (I call it my studio) and I'll post pictures of the other parts of the house tomorrow. Photo taken from the door. The room is about 14x16, 225 square feet. We are removing the carpet in putting in hardwood floors.
There are two 51-inch windows, one facing east (on the left in the photo above), one facing south (on the right in the photo above). View to the east:
Wednesday, May 12, 2010
Two Weeks from Tomorrow...
Sounds like a disaster movie doesn't it....
But it's actually good news.
Really amazing news, actually.
Two weeks from tomorrow, we are closing on our first home. Yep, we found it. We've actually been under contract for a few weeks at this point, but I didn't want to tempt fate by sharing the news too early.
But now we've been through inspections.
And the appraisal has come in.
And there are not many hurdles left to jump.
We're about to be home owners....
Now stop thinking about disaster movies.....I'm nervous enough.
(pictures soon, I promise).
Sunday, May 2, 2010
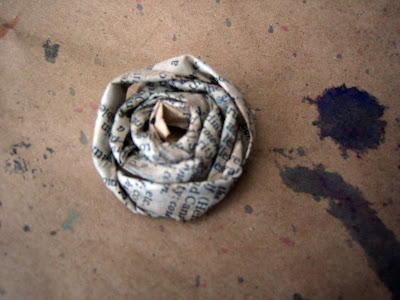
Easy Twisted Paper Flowers
Here's a quick, cheap, easy way to may your own flower embellishments.
Step 1, tear a sheet of vintage paper (dictionary, book, music, etc.) into strips lengthwise. Strips should be 3/4 to 1-1/2 inches wide.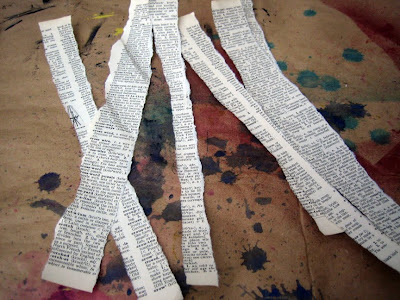 Step 2, rub Modge Podge onto a strip with your fingers. No need for complete coverage, you're just trying to make the paper easier to work with while adding strength and structure to the finished embellishment once the glue dries.


