January's technique focus is digital. Now, before I go any further, let me say that I consider myself a paper scrapper, a hybrid scrapper at the outside. I don't ever see that changing simply because I spend a minimum of 8 hours every day using the computer for work, I can't see myself every going fully digital without first getting an elbow replacement.
That being said, I think there are a myriad of cool digital techniques out there that can be effectively utilized by paper scrappers. I'm hoping to cover a few of those techniques, but since these techniqes are aimed a paper scrappers, I'm going to start simply.
One further note before we get started. The instructions for these techniques are based on Photoshop Elements 6. I am also familiar with Photoshop 7, many of the commands are similar, the main difference is that PS7 can do many things that PSE6 can not. I am also using a Windows-based PC, not a Mac, I honestly have no idea how much difference that makes in the instructions.
Let us begin! Don't forget you can click on the photos below for larger, more detailed images.
I use the clone tool ALOT. That's why I wanted to start with it. The clone tool can be used to remove blemishes from photos, remove distracting background elements, fix flash issues, and to add/remove people/objects from photos. The clone tool basically allows you to choose an area in your photo to copy over another area. Here are a few examples of photos where I have used the tool.
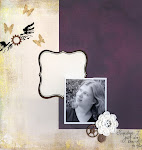
Before. In the after shot you'll see that I have removed the two distracting elements circled in this photo. After:
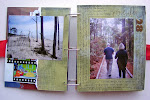
 Before. In the after shot you'll see that I was able to "mend" the crack in the house.
 After:
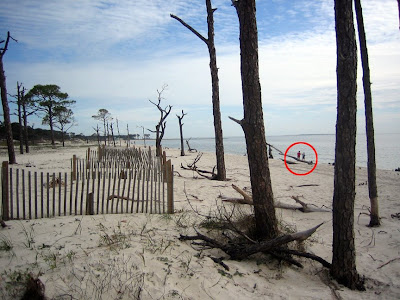
 So here's the photo we're going to work on today. It's a beautiful beach shot I took this last Thanksgiving that unfortunately has two random children in it.
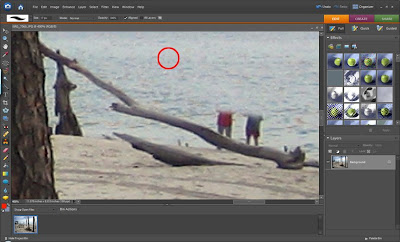
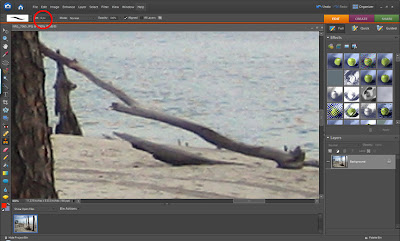
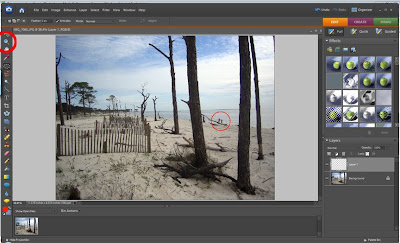 Step 3. Select the clone tool. The clone tool is the tool that is circled on the toolbar in the photo below. The clone tool looks like a wooden handled rubber stamp. If you don't see it, click on the black triangle in the lower right hand corner of some of the tools on your toolbar. Each toolbar button that has a black triangle in the bottom right corner is actually a "drawer" that holds multiple tools. If you find the clone tool in one of the "drawers" simply click on it to make it the active tool.
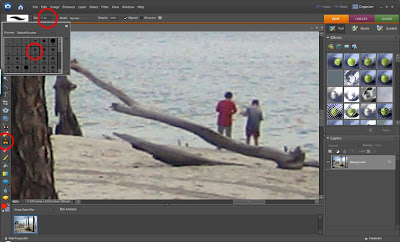 Step 5. Select the area of your photo that you want to "clone". For example, I want to cover up the children in my photo with the water. I place my cursor over an area of water (see circled area in photo below) and, while pressing and holding "ALT" click the left mouse button, then release "ALT". This selects the area you want to "clone". You can change this selection whenever you want simply by placing your cursor on another part of the photo and ALT-clicking again.






3 comments:
Very very interesting. It's so amazing what you can do with photo editing programs!
Thanks so much for this! Now I can do A LOT of what I've been wanting to and this was much easier to read than some of the other tutorials I've seen.
thank you! i have been wondering how to do this. :)
Post a Comment