You can see the post for January Technique 1 - The Clone Tool here.
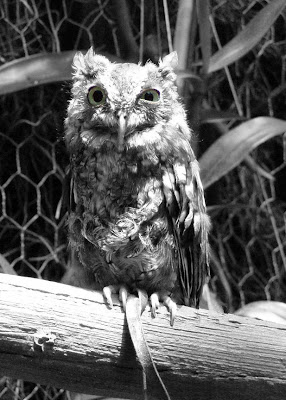
I call this technique "Color Pop", although it likely has other names as well. This technique allows you to bring color back to selected portions of black and white photos, for cool effect. I will be using this technique on my niece's eys in the following photo. Remember, you can click on any of the photos for larger, more detailed versions. Step 1. Open your photo in photoshop (File -> Open -> browse to photo -> Open).
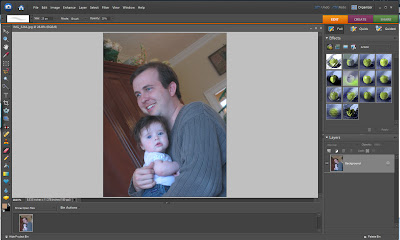 Step 2. Create a second copy of your photo in another layer by selecting Layer -> Duplicate Layer -> name your layer -> OK.
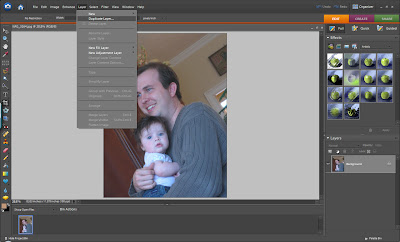
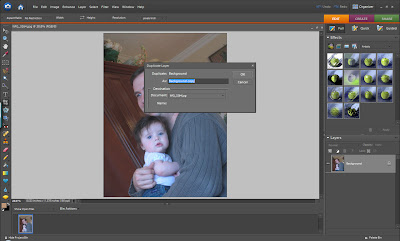 Step 3. Convert your newly created copy of your photo to black and white. Make sure the new layer is slected (see red rectangle in picture below) and then go to Enhance -> Convert to Black and White.
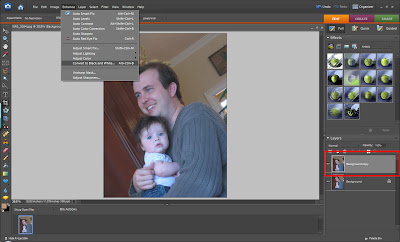 Select the type of black and white conversion you want to perform based on the type of photo you are using (see red rectangle in picture below). You can preview them all in this dialog box so try them all. I don't always like the obvious choice the best.
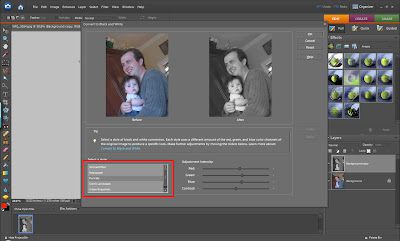 Step 3. Zoom to the area of the black and white photo where you want to add color. Then select the eraser tool. Slect the shape, size, and opacity of your eraser tool as shown in the photo below. If you are coloring an area with straight edges, choose a shape with straight edges. If you are coloring a more diffuse area, choose a shape with softer edges. The size of your eraser tool can be changed as you go, as necessary, but start with a size smaller than the area you are trying to color. Use an opacity of 100 percent if you want all of the color from the layer below to be seen. Use an opacity of less than 100 percent if you want just a "hint" of color.
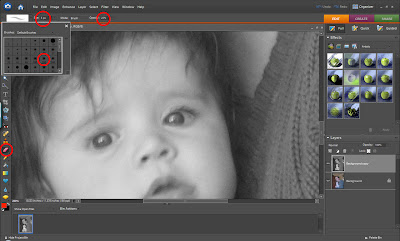 Step 4. Start erasing the area you want to be colored by holding down the left mouse button and "rubbing" the mouse over the area. Erase in short strokes so that you can undo in stages, if necessary.
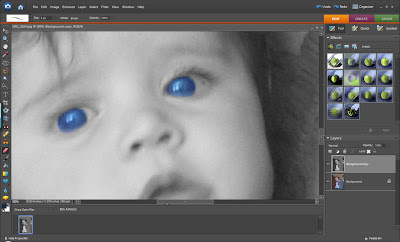 See how the surrounding black and white image really makes the color pop from the background compared to the colored original.





0 comments:
Post a Comment