Have you ever wanted to be able to print text on objects you can't run through your printer? Like chipboard accents, for example, or large projects. I'll show you one way to go about printing whatever text you would like on un-printable surfaces.
Remember, you can click on the pictures to view larger, more detailed versions. Also, I apologize in advance that today's step-by-step photos are from two different projects, I haven't been able to get one full set of step-by-step photos from one project for a variety of reasons.
Step 1. Print Your Text. Grab a piece of cardstock the size of the text you want to print. I am using 12x12 cardstock, but if you don't have a large format printer, 8.5x11 cardstock is fine. Feel free to use "scrap", "cheap", or "ugly" cardstock, we will only be using this piece of cardstock for a base. Run a line of dry adhesive (I suggest some kind of adhesive runner for this) around the edge of your cardstock (as close to the edge as possible), all the way around.  Now, adhere a piece of white tissue paper to your cardstock. The easiest way to do this is to lay your tissue paper down flat on your work surface and lay your cardstock down on top, adhesive side down. Now trim off the excess (overhanging) tissue paper.
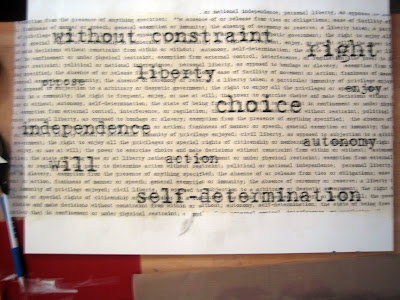
 Now run your tissue-paper-covered-cardstock through your printer as usual. Use the "text" setting on your printer as opposed to a "photo" setting because this will use less ink and your printed tissue paper will be less likely to smear during the next steps. You could also consider using the "draft" setting on your printer if smearing is still an issue because this setting uses even less ink. No matter which setting you use, you will need to let to ink set at least 15 minutes before moving onto the Mod Podge steps described below, although you should be able to handle the tissue paper at this point.
I used 1/2-inch margins with my text because the portion of the tissue paper that is adhered to the cardstock will be unusable anyway.  Now cut your printed tissue off of the base cardstock by gently running a craft knife just inside the adhesive line.
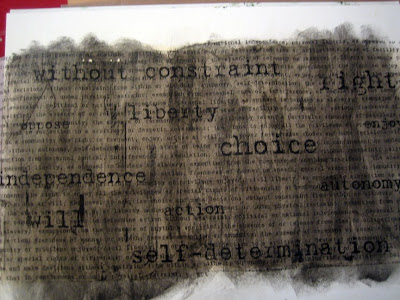
 Step 2 - Prepare Your Surface. Create your project or paint your chipboard letters or whatever surface you are trying to adhere text to. Keep in mind that the white tissue paper will ALMOST completely disappear if you follow the steps below. This means that you will not be able to see the tissue paper on a light colored surface and the tissue paper will slightly lighten medium colored surfaces. I would suggest a slight modification to this technique for dark surfaces. I would suggest adhering the tissue paper to a light colored surface and then painting the tissue paper a darker color after the last step. An example of this modification is shown further down.
Step 3 - Adhere the Tissue Paper. Brush a heavy layer of Mod Podge unto your surface and then either lay the tissue paper, printed side up, onto the Mod Podge'ed surface (if you are covering a large surface, like a background) or lay your Mod Podge'ed object onto the back of the printed tissue paper (if you are covering smaller surfaces, like chipboard accents).  Allow 5-10 minutes for the Mod Podge to mostly dry. If you are covering smaller accents, cut them apart at this point. Trim down larger areas of overhanging tissue paper.
 Cut the overhanging tissue paper at any corners or curves so that the excess can easily fold around to the back.
 Run a line of adhesive down the back edges of the object you are covering. Now, lay a heavy layer of Mod Podge on top of the tissue paper. The objective is to saturate the tissue paper (which is what makes it ALMOST disappear). Make sure you let the underlying layer of Mod Podge dry for 5-10 minutes before adding this layer or your tissue paper will tear from being too wet. While the Mod Podge is wet, fold the overhanging tissue paper around to the back and press it into the adhesive. Use your fingers to flatten the tissue paper along the edges of your object.
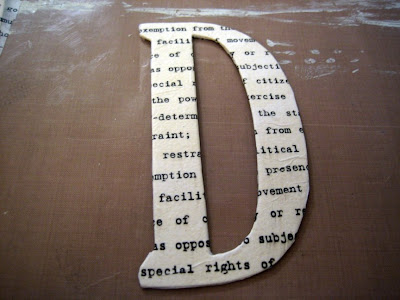
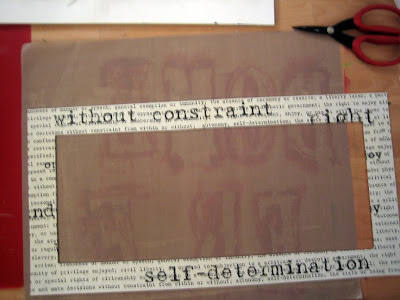 Let the Mod Podge dry and you're done. If you want a darker surface, you can use acrylic paints to paint on the Mod Podged tissue paper to give you a darker effect.
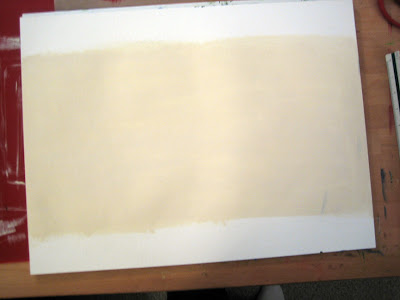




1 comments:
Love that = )great tutorial
Post a Comment